Send messages to API channel
To send messages to API channel, you need have a basic understanding of the models and nomenclature used in UniLink. Let us try to understand these first.
Channel: Channel defines the type of the source of conversations. Eg: Facebook, Twitter, API etc.
Inbox: You can create multiple sources of conversations which is of the same channel type. For eg: You can have more than one Facebook page connected to a UniLink account. Each page is called as the inbox in UniLink.
Conversation: A Conversation is a collection of messages.
Contact: Each conversation has a real life person associated with it, this person is called a contact.
Contact Inboxes: This is the session for each contact on a inbox. A contact can have multiple sessions and multiple conversations in the same inbox.
How to send a message in an API Channel?
To send a message in an API channel, you have to create a contact, then create a conversation and then send a message.
APIs require api_access_token in the request header. You can get this token by visiting your Profile settings > Access Token
1. Create a contact
API documentation: (https://www.chatwoot.com/developers/api/#operation/contactCreate)
Pass the inbox id of the API channel along with other params specified. This would create a session for you automatically. A sample response would look like the one below.
{
  "email": "string",
  "name": "string",
  "phone_number": "string",
  "thumbnail": "string",
  "additional_attributes": {},
  "contact_inboxes": [
    {
      "source_id": "string",
      "inbox": {
        "id": 0,
        "name": "string",
        "website_url": "string",
        "channel_type": "string",
        "avatar_url": "string",
        "widget_color": "string",
        "website_token": "string",
        "enable_auto_assignment": true,
        "web_widget_script": "string",
        "welcome_title": "string",
        "welcome_tagline": "string",
        "greeting_enabled": true,
        "greeting_message": "string"
      }
    }
  ],
  "id": 0,
  "availability_status": "string"
}
As you can see in the payload, you will be able to see the contact_inboxes and each contact_inbox will have a source_id. Source Id can be seen as the session identifier. You will use this source_id to create a new conversation as defined below.
2. Create a conversation
API documentation: (https://www.chatwoot.com/developers/api/#operation/newConversation)
Use the source_id received in the previous API call.
You will receive a conversation id which can be used to create a message.
{
  "id": 0
}
3. Create a new message
API documentation: (https://www.chatwoot.com/developers/api/#operation/create-a-new-message-in-a-conversation)
There are 2 types of messages.
Incoming: Messages sent by the end user is classified as an incoming message.
Outgoing: Messages sent by the agent is classified as an outgoing message.
If you call the API with the correct content, you will receive a payload similar to the one below.
{
  "id": 0,
  "content": "This is a incoming message from API Channel",
  "inbox_id": 0,
  "conversation_id": 0,
  "message_type": 0,
  "content_type": null,
  "content_attributes": {},
  "created_at": 0,
  "private": false,
  "sender": {
    "id": 0,
    "name": "Pranav",
    "type": "contact"
  }
}
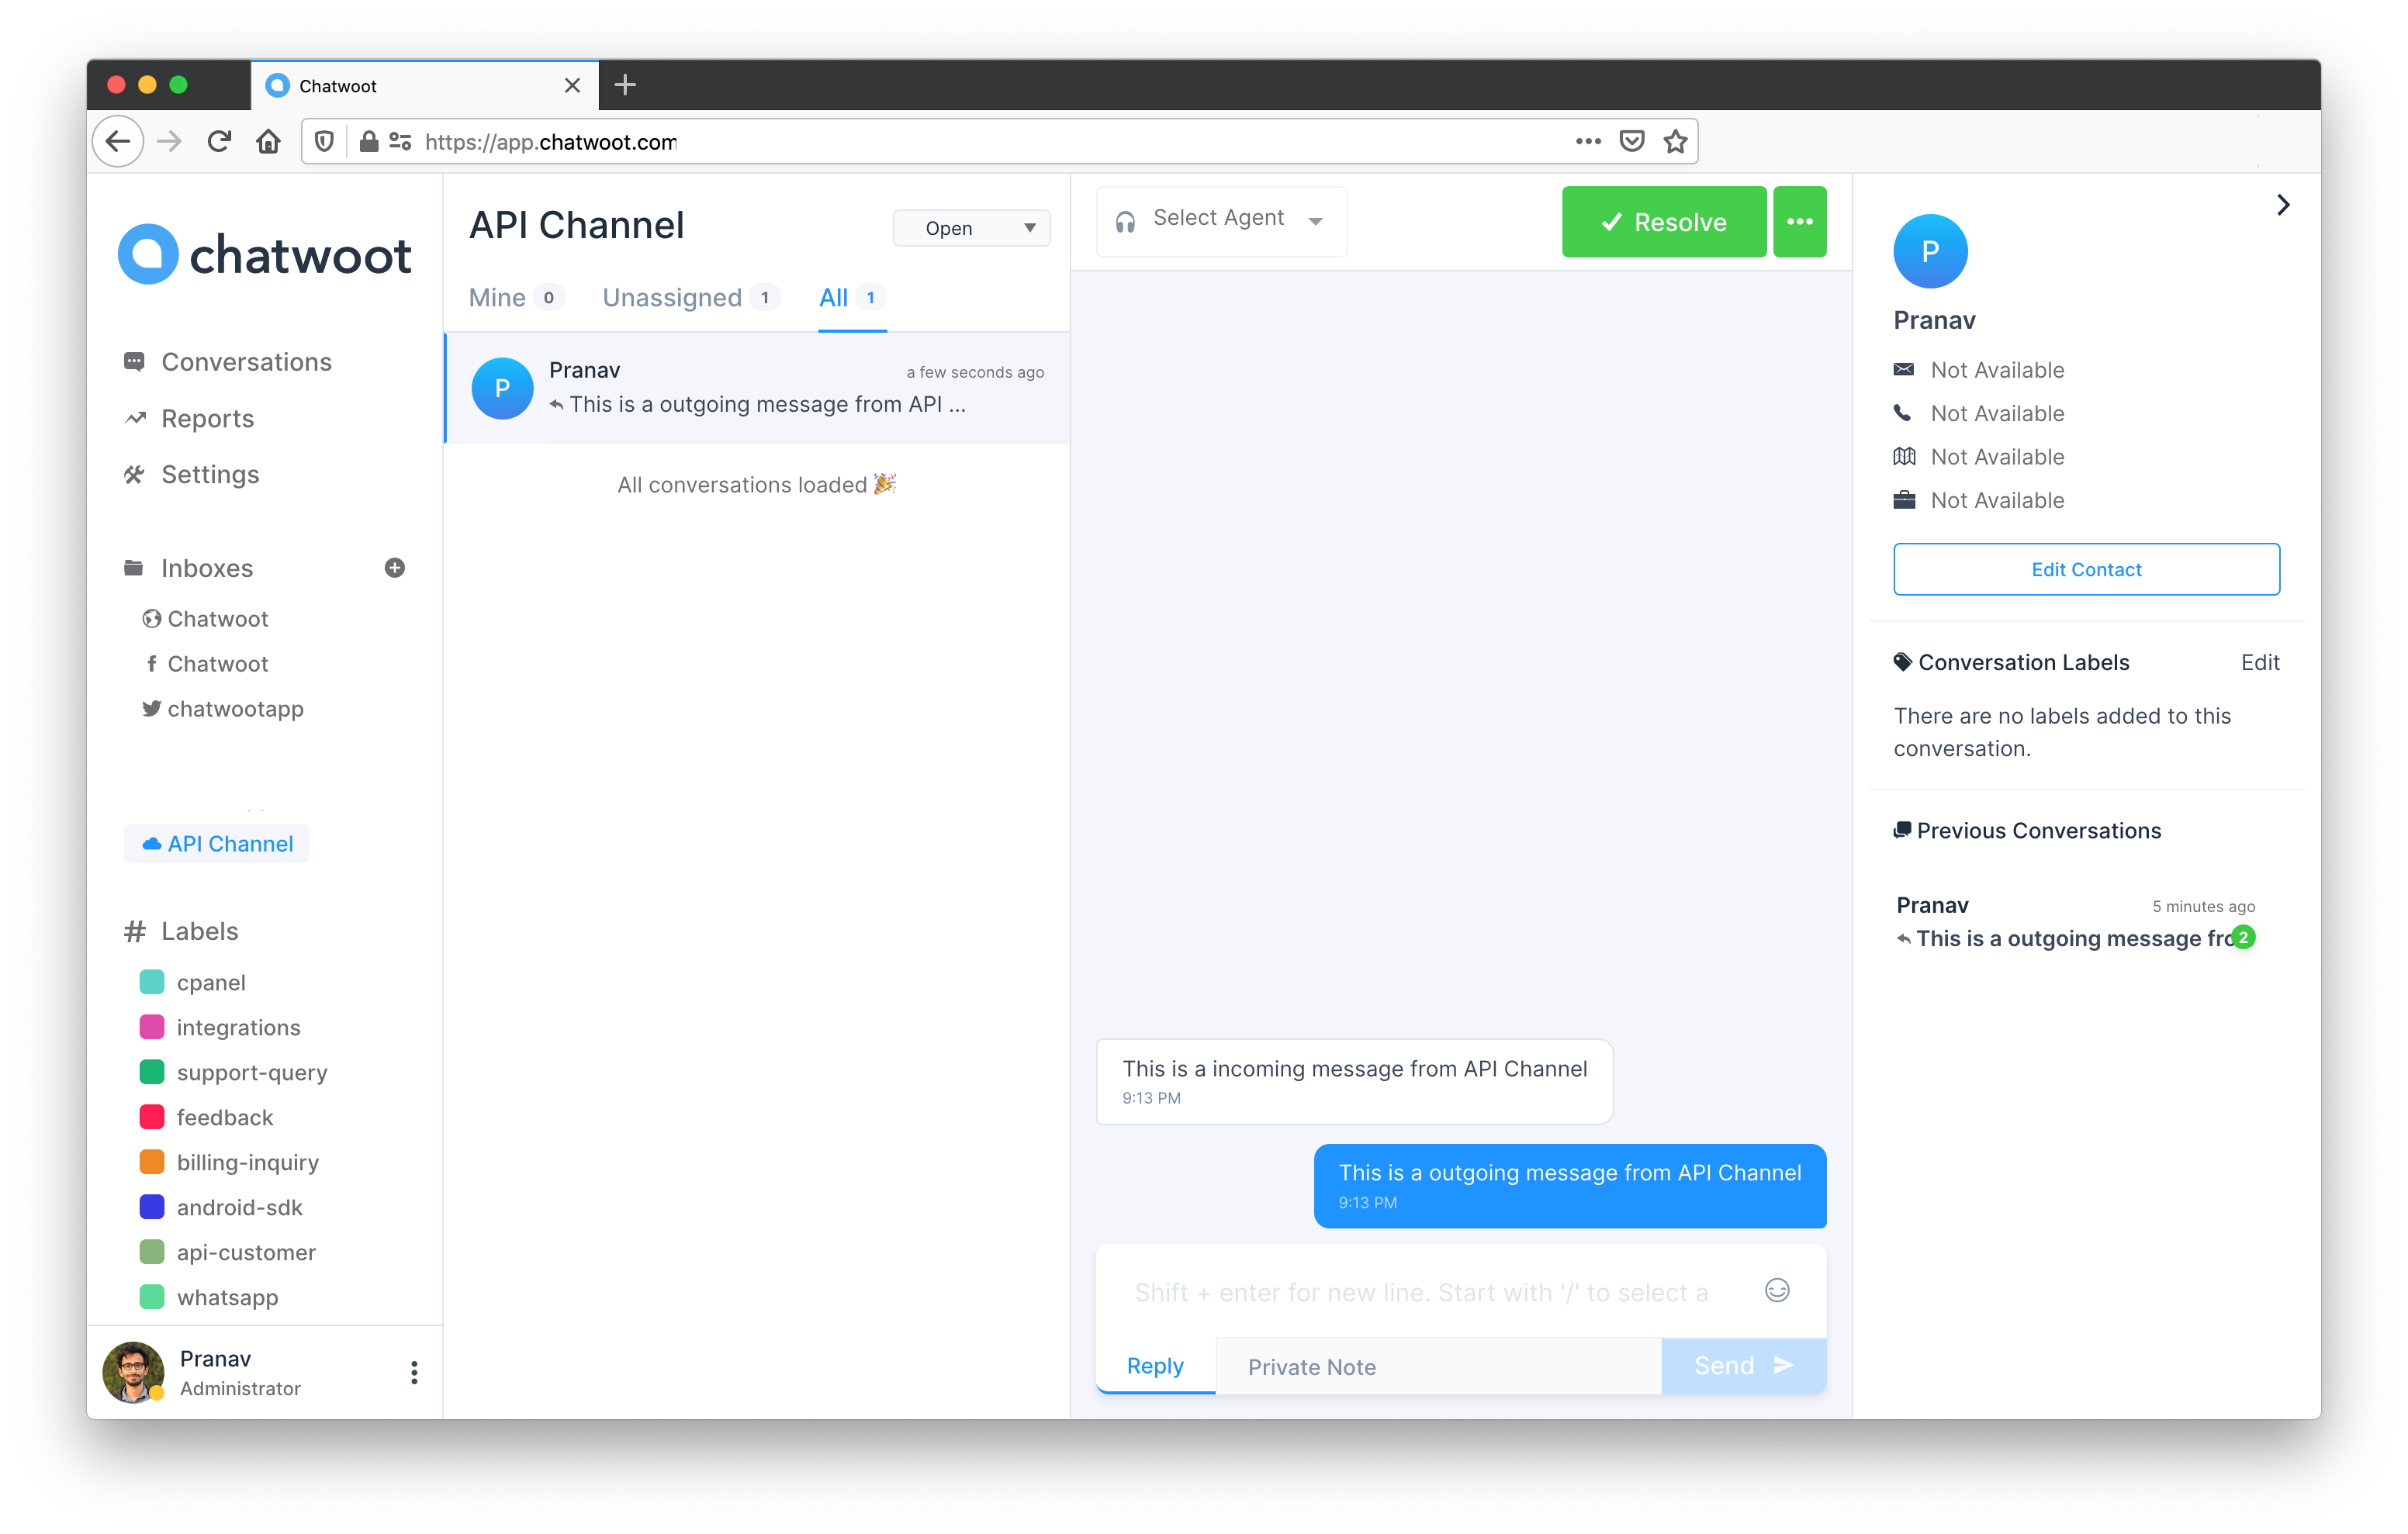
If everything is sucessful you will see the conversation on the dashboard as follows.
You will be notified when a new message is created on the URL specified while creating the API channel. You can read about the message payload here.